Feature Coming Soon!
The newsletter functionality is under development.

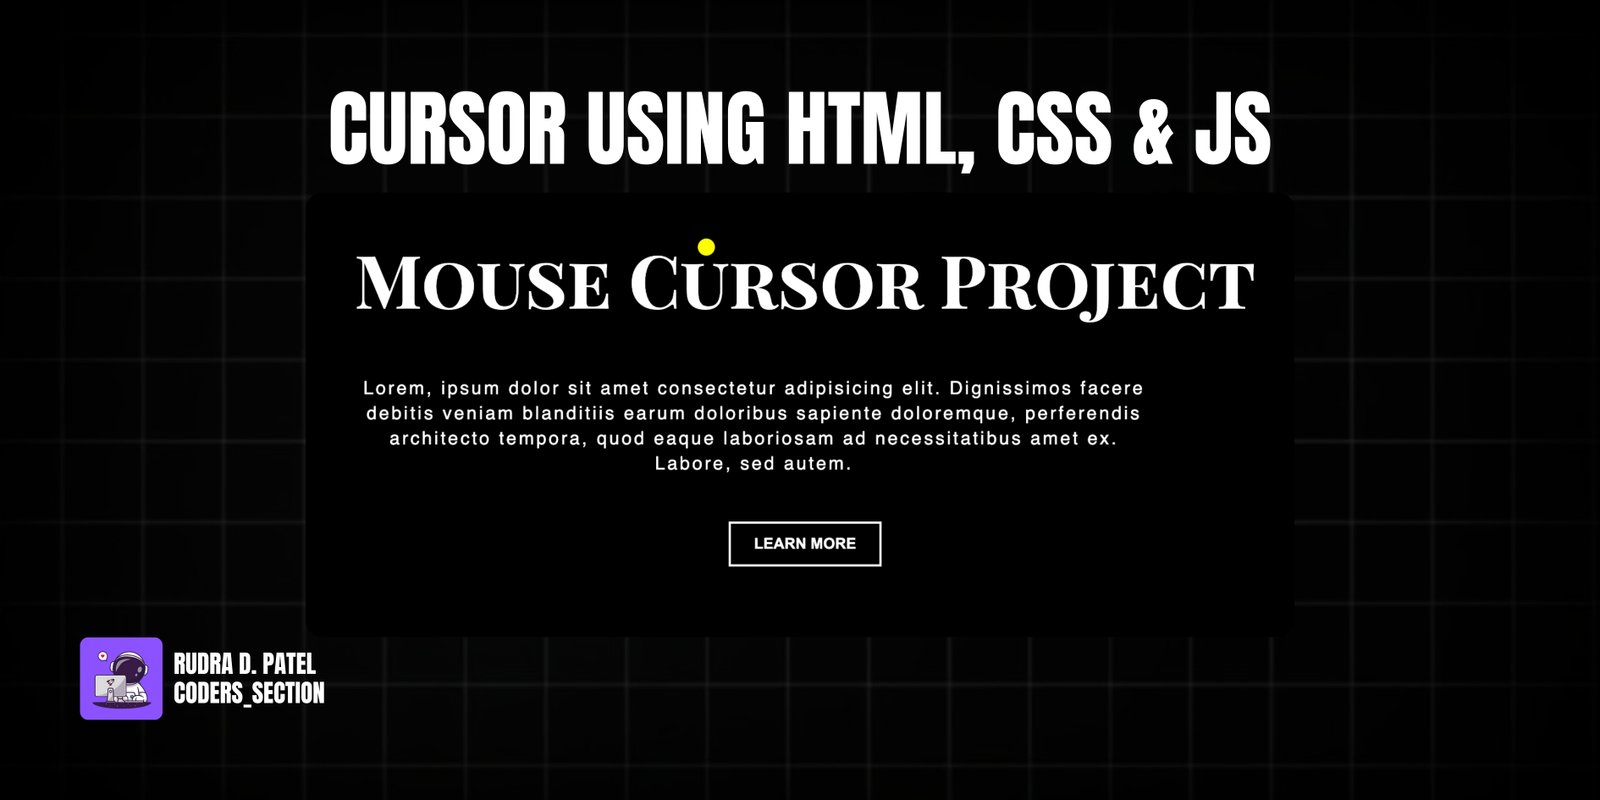
This project demonstrates how to create a custom mouse cursor using HTML, CSS, and JavaScript. Instead of the default system cursor, a small, colored circle follows the user's mouse movements across the screen, providing a unique and personalized interactive experience. This effect is often seen on creative portfolios, interactive websites, or gaming interfaces to enhance visual engagement.
The design uses a dark background to make the custom cursor stand out. The core of the effect relies on JavaScript to capture the mouse's `pageX` and `pageY` coordinates and then dynamically update the `left` and `top` CSS properties of a dedicated `div` element, which is styled as the custom cursor. CSS is used to define the appearance of the cursor (e.g., shape, size, color) and to hide the default system cursor. This project is an excellent example of combining HTML structure, simple CSS styling, and JavaScript event listeners for interactive UI elements.
The HTML structure for this custom cursor is minimal and focuses on the elements needed for the effect. It includes a `div` with the class `custom-cursor` and `aria-hidden="true"`, which will serve as the custom cursor itself and is hidden from accessibility trees. The main content of the page is wrapped in a `main` element with the class `content-container`, containing an `h1` for the main heading, a `p` for a description, and a `button` for a call to action. A `script` tag links to an external JavaScript file (`app.js`) to handle the cursor's movement. This structure provides a clear separation of the custom cursor element from the main page content.
<!DOCTYPE html>
<html lang="en">
  <head>
    <meta charset="UTF-8" />
    <meta http-equiv="X-UA-Compatible" content="IE=edge" />
    <meta name="viewport" content="width=device-width, initial-scale=1.0" />
    <title>Custom Cursor</title>
    <link rel="stylesheet" href="style.css" />
  </head>
  <body>
    <div class="custom-cursor" aria-hidden="true"></div>
    <main class="content-container">
      <h1 class="main-heading">Mouse Cursor Project</h1>
      <p class="description">
        Lorem, ipsum dolor sit amet consectetur adipisicing elit. Dignissimos
        facere debitis veniam blanditiis earum doloribus sapiente doloremque,
        perferendis architecto tempora, quod eaque laboriosam ad necessitatibus
        amet ex. Labore, sed autem.
      </p>
      <button class="cta-button">Learn More</button>
    </main>

    <script src="app.js"></script>
  </body>
</html>
The CSS for this custom cursor project handles the overall page layout, text styling, and the appearance of the custom cursor. The `body` is styled to take up the full viewport height with a black `background`, and uses flexbox to center its content. The `h1` uses a custom font (`Playfair Display SC`) and is white. The `p` element has a `max-width` for readability, white `color`, and `letter-spacing`. The `button` is styled with a transparent background, white `border`, `padding`, and `text-transform`. Crucially, the `div.cursor` (our custom cursor) is absolutely positioned, initially centered, and styled as a small yellow circle with `border-radius: 50%`. The `transform: translate(-50%, -50%)` ensures it's perfectly centered on the mouse coordinates. While not explicitly shown, to fully implement a custom cursor, you would typically add `cursor: none;` to the `body` element to hide the default system cursor, allowing your custom cursor to be the only visible pointer.
@import url("https://fonts.googleapis.com/css2?family=Playfair+Display+SC:wght@700&display=swap");

body {
  height: 100vh;
  background: #000;
  display: flex;
  flex-direction: column;
  justify-content: center;
  align-items: center;
}

.container {
  text-align: center;
  margin: 0 auto;
}

h1 {
  color: #fff;
  font-size: 4rem;
  font-family: "Playfair Display SC", serif;
}

p {
  color: #fff;
  max-width: 700px;
  font-family: sans-serif;
  letter-spacing: 2px;
  line-height: 22px;
  margin-bottom: 40px;
}

button {
  padding: 0;
  margin: 0;
  border: transparent;
  background: transparent;
  color: #fff;
  border: 2px solid white;
  padding: 10px 20px;
  font-weight: bold;
  text-transform: uppercase;
  cursor: pointer;
}

/* JavaScript */
div.cursor {
  position: absolute;
  top: 50%;
  left: 50%;
  width: 15px;
  height: 15px;
  background: yellow;
  border-radius: 50%;
  transform: translate(-50%, -50%);
}
The JavaScript for this project is the core logic that enables the custom cursor to follow the mouse. It first selects the `.cursor` element from the DOM. An event listener is added to the `document` for the `mousemove` event. This listener triggers a function every time the mouse moves. Inside this function, `event.pageX` and `event.pageY` are used to get the current horizontal and vertical coordinates of the mouse pointer relative to the document. These coordinates are then passed to the `moveCursor` function. The `moveCursor` function updates the `left` and `top` CSS properties of the `cursor` element, effectively repositioning it to follow the mouse's current location. This continuous update creates the smooth tracking effect of the custom cursor.
const cursor = document.querySelector(".cursor");

document.addEventListener("mousemove", function (event) {
  // event.pageX --< across
  // event.pageY --< up and down
  // console.log(event);
  moveCursor(event.pageX, event.pageY);
});

const moveCursor = function (pageX, pageY) {
  cursor.style.left = pageX + "px";
  cursor.style.top = pageY + "px";
};
Watch a live demonstration of the Custom Cursor below.
This Custom Cursor project offers a simple yet impactful way to personalize user interaction on your website. By replacing the default system cursor with a custom-styled element, it adds a unique visual flair and can contribute to a more immersive user experience. The implementation is straightforward, relying on basic HTML, CSS for styling, and JavaScript for real-time position updates. This effect is particularly useful for creative portfolios, interactive art installations, or any web application where a distinct visual identity is desired.
You can easily customize this component by:
To ensure a smooth custom cursor experience, especially on high-refresh-rate monitors, consider optimizing the `mousemove` event listener. You can use techniques like `requestAnimationFrame` to batch DOM updates, preventing layout thrashing and ensuring the cursor animation remains fluid. Also, remember to hide the default system cursor using `cursor: none;` on the `body` to avoid having two cursors visible.
Click the button below to download the full source code. Download will be ready in 10 seconds.
Receive coding tips and resources updates. No spam.
We respect your privacy. Unsubscribe at any time.